Your First Game
This guide walks through hosting your first TableCommander game.
Prerequisites#
Before starting, make sure you have:
- Created an account
- Imported at least one deck
Creating a Table#
Step 1: Open the Lobby
Navigate to Game Lobby from the main menu.
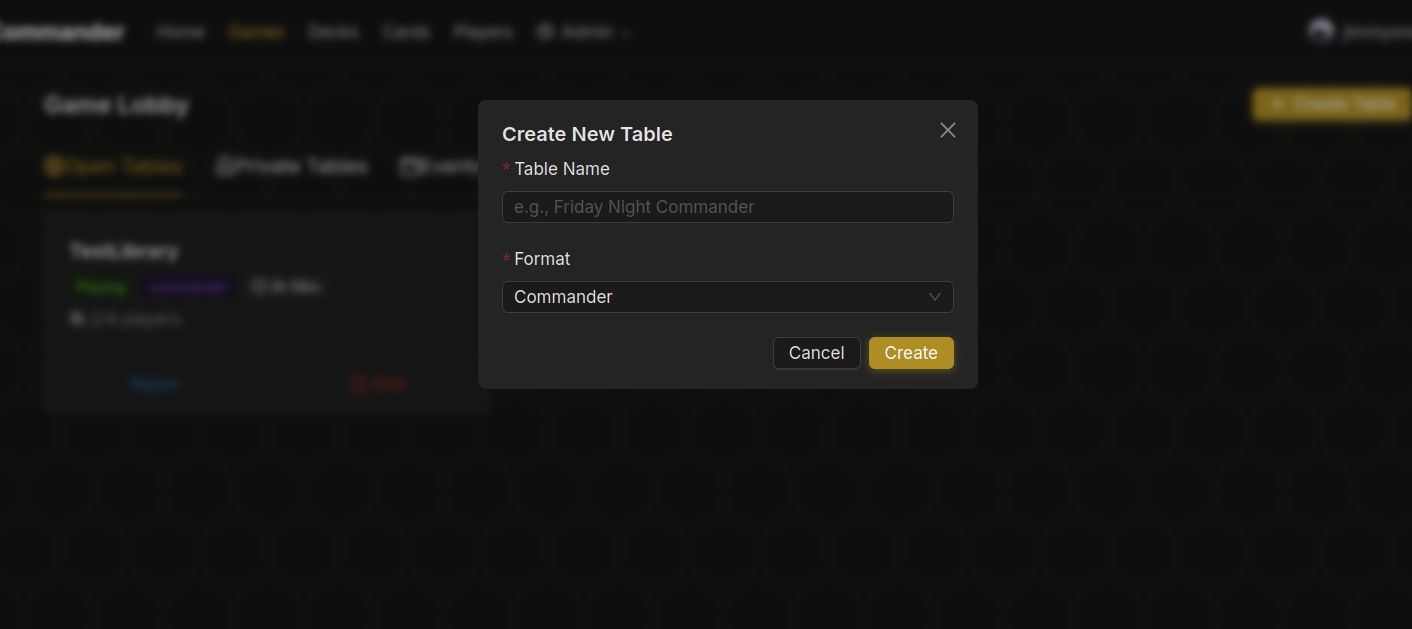
Step 2: Configure Your Table
Click Create Table and set your preferences:
| Option | Description |
|---|---|
| Name | A title for your game (e.g., "Casual Commander") |
| Seats | Number of players (2-6) |
| Visibility | Public (listed in lobby) or Private (invite only) |
| Format | Commander, Standard, Modern, etc. |
| Power Level | 1-10 scale for Commander games |
Step 3: Share the Invite Code
For private games, you'll get a unique Table Code. Share this with your friends via Discord, text, or however you communicate.
Table Code: ABC123
Friends enter this code in the Game Lobby to join your table.
Waiting for Players#
The table lobby shows:
- Seats - Who's joined and who's selecting a deck
- Chat - Talk with players before the game starts
- Ready Status - Green check when a player has selected their deck
Selecting Your Deck#
Each player must select a deck before the game can start:
- Click Select Deck
- Choose from your deck library
- Your status changes to Ready
Starting the Game#
Once all players are ready, the host clicks Start Game.
What happens:
- All decks are loaded
- Libraries are shuffled
- Each player draws 7 cards
- The game begins!
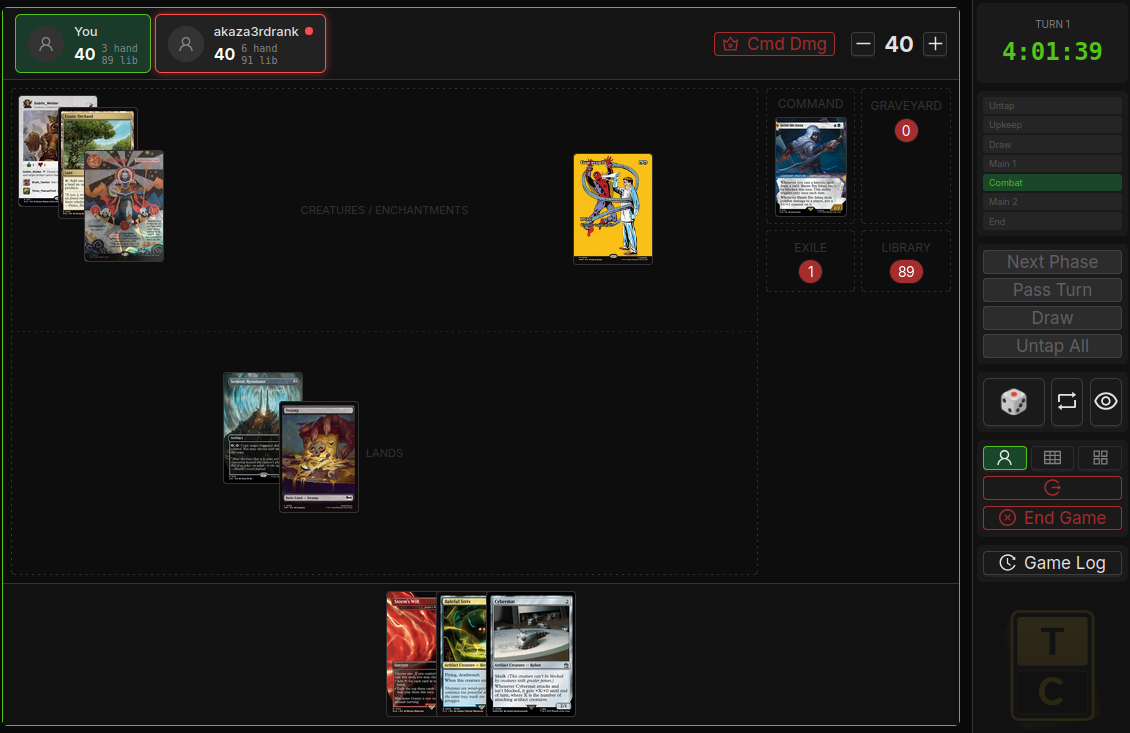
During the Game#
See Game Controls for how to:
- Draw and play cards
- Tap and untap permanents
- Track life and counters
- Use the chat and game log
Tips for Hosts#
Communication: Use the pre-game chat to confirm house rules, discuss power levels, or just say hi.
Player Management: As host, you can kick players from the table if needed before the game starts.